
A Fan controller is an accessory that could be essentially important specially for those who have lots of fans installed in their system. Fan controllers are very useful specially if you want to control your fans on the fly or altogether simultaneously. Today, let’s take a look at NZXT’s latest touchscreen fan controller – the NZXT Sentry 3. The Sentry 3 is the successor of the old Sentry 2, now featuring a larger 5.4-inch display, a redesigned user interface and the “link” where you can simultaneously control a group of fans that are “linked” together. Let’s find out more about the NZXT Sentry 3 in my review below.
NZXT Sentry 3 Features
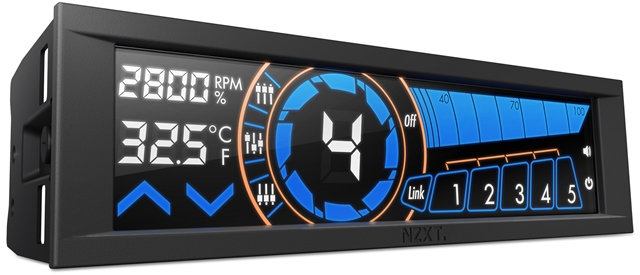
The NZXT Sentry 3 features a larger 5.4-inch touchscreen display panel and a completely redesigned user interface. Comparing it with the previous generation Sentry 2, I would say that the Sentry 3 looks far better than the Sentry 2. Aside from the larger display and new UI, it also features Link Group where you can link up to five fan channels and control the link group simultaneously. The Sentry 3 also features precision temperature and fan speed monitoring. You can view the temperature in Degrees Celsius or Fahrenheit, and you can view the speed of the fan in RPM or percentage.
The Sentry 3 has a maximum combined wattage of 75 watts that can deliver 15W per channel. This is good for driving those 120mm and 140mm fans, even high performance fans. The fan controller comes with a Temperature Sensor where you can attach it directly on the CPU or any part of your system that you want to monitor its temperature.
I’ll talk more about the Sentry 3’s features as we take a closer look at it below. Meanwhile you can watch the video introduction of the NZXT Sentry 3 Touchscreen Fan Controller below.
NZXT Sentry 3 Specifications
Model Number: AC-SEN-3-B1
Dimensions: 129mm x 31mm
Material: Steel, ABS Plastic, Capacitive Touchscreen, PCB
Fan Connector: 3-Pin or 4-Pin
Finish: Textured Injected Plastic
Included Accessories: 4x M3 Screws
Form Factor: Single Bay 5.25″
Connections: 1x Molex, 1x Temperature Sensor, 5x PWM Male Fan Connectors
Maximum Combined Wattage: 75 Watts
Brightness Levels: On / Off
Control Modes: Manual / Performance / Quiet
Fan Channel Quantity: 5 Channels
Fan Channel Wattage: 15 Watts
Temperature Range: 0 to 120°C
Minimum Power To Fans: 0%
Screen Size: 5.4 Inches
Screen Type: Capacitive Touch
Fan Control Method: Voltage
Warranty: 2 Years
A Closer Look

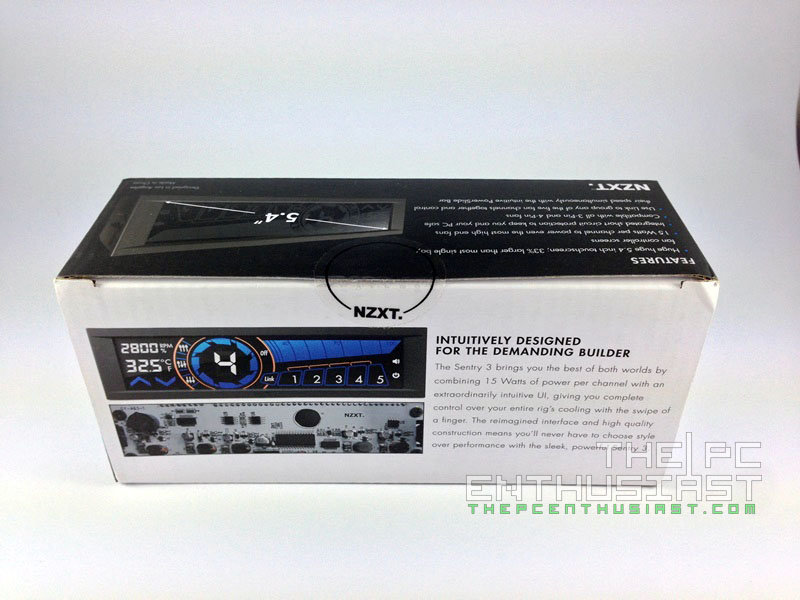
The NZXT Sentry comes with a nice black and white small box. You can see the features of the fan controller on the top side, while a little introduction about the product can be read on the rear side of the box.
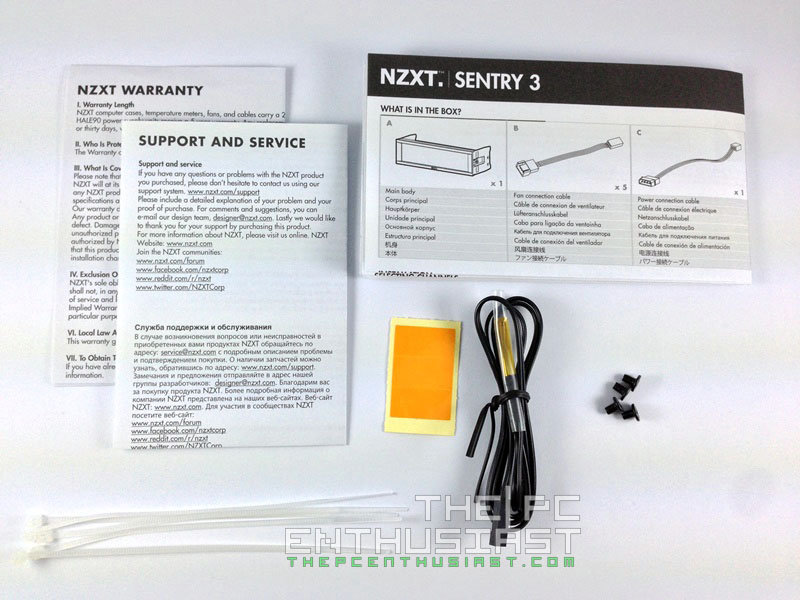

The package includes a warranty and support pamphlet, a manual, four screws for mounting the fan controller, four white cable ties, an extra thermal wire sensor together with some stickers for attaching the sensor, and finally the Sentry 3 fan controller itself. You can actually find all the information regarding this fan controller in the manual and how to operate it.
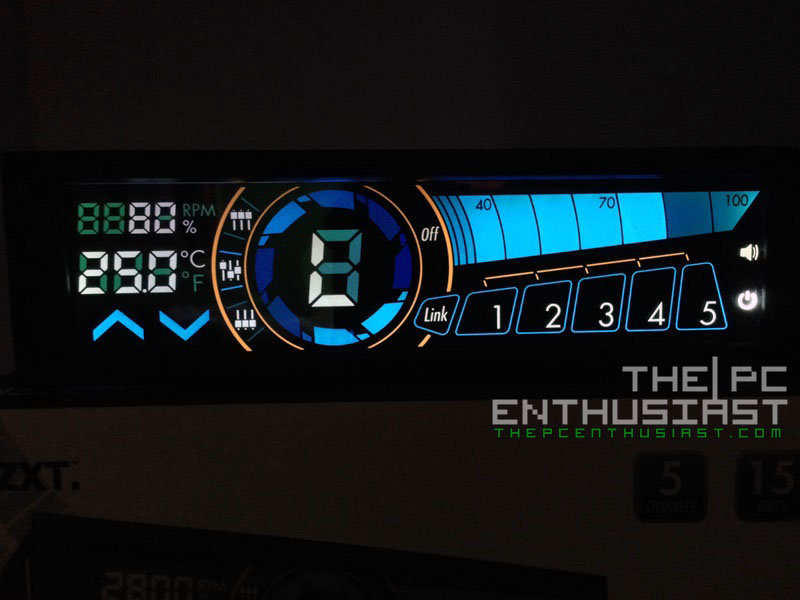
The whole 5.4-inch display panel is not touch sensitive actually. There are only certain areas (which can be obviously seen from the photo above) where the display is touch-sensitive.

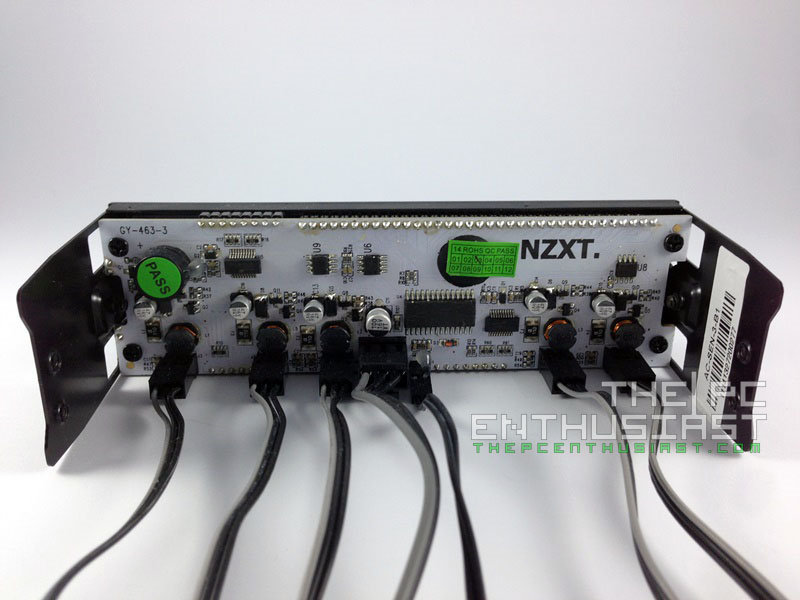
Here we have a closer look at the Sentry 3 itself. It has a white PCB and the cables can be removed in case you don’t need to use all of the channels or the temperature sensor. The fan channels are fully compatible with both 3pin or 4pin connectors, and it draws its power from a 4-pin Molex power source.
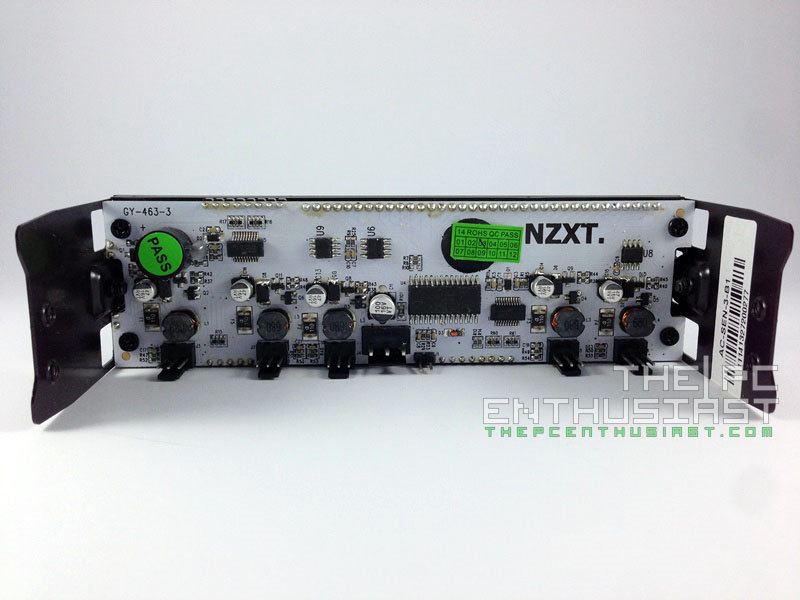
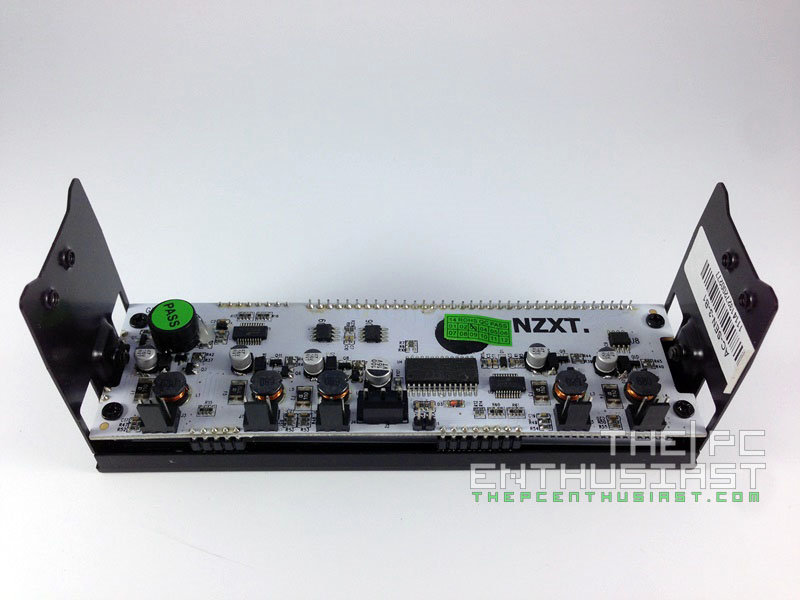
We can see some capacitors, voltage regulators, an alarm buzzer and other tiny components. Speaking of alarm buzzer, the sound of the alarm is similar to the alarm used by some digital watch (like Casio). I don’t know if you are familiar with that sound or not, but they are similar.
Now let’s connect some fans with the NZXT Sentry 3 and test the controller itself.
Test Setup
In testing the Sentry 3, I connected three Noctua NF-F12 fans and two Corsair SP120 High Performance fans. After using and testing the Sentry 3 for a few hours, I have observed a few good things about this fan controller, as well as some bad sides or things that need to be improved.

First, let’s talk about the good things that I experienced while using the Sentry 3. The fan controller has 3 modes of control, the performance mode – where the fans are automatically set to almost 100% of the fan’s speed, the quiet mode – fans are set to probably around 40% of its rotational speed, and manual mode – where you can manually control the individual speed of a channel, or simultaneously via the Link feature.
The Sentry 3, in general is very easy to setup, you just need to plug the fans and connect the controller to a power source and you are good to go. The touchscreen is very responsive as well. One touch (no need to press hard) and the fan controller will respond immediately.
The Link feature is very useful specially if you want to control all of the fans or just some of them simultaneously. Just hold the link button until you hear a beep and the Link icon starts to blink, then press the number of channel you want to link.
The alarm has three volumes – mute, medium and loud. When a fan fails or gets disconnected, it will trigger the alarm and the number of the channel from which that fan(s) is/are connected will blink continuously together with the alarm.
The temperature and the fan speed indicator seem to be accurate as well. However, if you plan to monitor your CPU and placed the sensor near somewhere the CPU or on the heatsink, don’t expect to get the same result shown from the Sentry 3 and the ones displayed from a hardware utility, like Hardware monitor.
The display has no brightness level, but it can be turned on and off, just by holding the power button for 3 seconds. The display and user interface looks good, specially if you are looking from an angle.

Now, let’s talk about the bad side of the Sentry 3 (well not really bad). The fan speed can only be set starting with off (0%) then 40% up to 100%, with 10% interval. If you want a precision fan controller that can control the speed of the fan from 0 to 100 accurately, then you might want to find a fan controller with a dial instead.
If you have a fat or large finger, you might find it hard to press the alarm button and the power button, since they are located right beside the bezel already.
Usually, the case of my PC is located either on the right side of the table or on the left side, so I didn’t noticed this problem at first. If you look at the display from an angle, the display is nice to look at. But if you look at the display directly in front of you, you might find it hard to read the display or you might think that there is something wrong with it. The two photos above seem to be okay, that’s because the lights are turned off, but they will look different when the lights are turned on.
Finally, you can’t stop the alarm once it starts to beep, not unless you turn off your system. I guess it’s a fail-safe, but I find it pretty annoying. I tested if the alarm was working properly by simply disconnecting a fan channel while it was turned on. And it sure did trigger the alarm. But I can’t find a way to turn off the alarm, even when I reconnected the fan, the Sentry 3 is still beeping. The only way to stop it is to turn off the PC.
NZXT Sentry 3 Review: Conclusion
At the end of the day, the NZXT Sentry 3 doesn’t seem to be a bad product after all. In fact it’s a huge improvement compared to the Sentry 2. My only complains were with the alarm, which I think will not happen to me anytime soon since I have never experienced a fan failing on me; the slight difficulty reading the display when viewed directly. I don’t have a fat finger so I don’t have a problem pressing the power and volume button, I guess that’s a case to case basis. But I do think that NZXT has to address these minor issues to further improve the Sentry Fan controller. Another thing is that the fan speed can only be set from 0%, then 40% to 100%, by 10% intervals. I hope NZXT could find a way so that users can adjust the fan speed from 0% to 100% precisely.
Leaving my complaints aside, the NZXT Sentry 3 is built with lots of great features. First, I find the Link feature to be really useful, since I can control some or all of the fan channels simultaneously. Second, it has under voltage and over voltage protection, and it will alarm when a fan suddenly fails. The new user interface and larger display panel looks cool and will definitely add to your PC’s “bling” factor. It has a maximum combined wattage of 75W and can drive high performance fans. The fans speed monitor and temperature sensors are also a plus factor as well.
Finally, NZXT seems to be charging a reasonable price for their Sentry 3. This fan controller will only cost you $34.99 and comes with a 2 year warranty. But you can get it for a much lower price of $33.99 on Amazon here (as of the date of posting this article). I wouldn’t say that the new NZXT Sentry 3 is a highly recommended product due to its short comings. But for its price and the set of features that the Sentry 3 has to offer, I find it recommendable specially if you are looking for a touchscreen type fan controller.
Note: This NZXT Sentry 3 Fan Controller Review was first published on ThePCEnthusiast – NZXT Sentry 3 Touchscreen Fan Controller Review, and was republished here with the permission from the original author.
Leave a Reply